Users
Use the Users page to manage who belongs to the organization and what level of access they start with.
Start with Rights in 2 minutes if you want the shortest explanation before configuring users.
Always start with the user type. Add roles and access domains only if you need finer access control.
This page is the entry point for:
- inviting members
- reviewing who already has access
- changing user type
- assigning roles
- managing sign-in methods
- allowing or denying AI access when AI is included in the plan
- allowing or denying share-link creation when share links are included in the plan
- removing access when needed
This page is about granting the right starting access. Fine-grained governance comes after that through roles and access domains.
Access
- Click the Organization icon (building)
- Select "Users"
Only administrators and owners can manage users.
User types
Each user has a global type that defines their baseline rights:
| Type | Description |
|---|---|
| Owner | Full organization control, including billing and subscription decisions |
| Administrator | Manages organization settings, users, and governance |
| Editor | Contributes to the knowledge base and content according to assigned rights |
| Viewer | Reads the knowledge base and content according to assigned rights |
Editors, administrators, and owners count toward the Users limit of your plan. Viewers count toward the Viewers limit.
Administrators and owners can review current limits on the Organization page, in the Plan card.
In self-service organizations, Owner is the billing owner account. In the UI, this type cannot be selected manually for another user, and that account cannot be removed.
Invite a user
-
Click "Invite User".
-
If your organization uses SSO, choose the sign-in method. In an SSO-required organization, the email option is not available.
For an SSO user, create or authorize the person in your identity provider. Boldo does not send a separate invitation from this form; the member is created or linked when the person signs in through SSO.
For an Email user, fill in:
- Email: User's address.
- User type: Viewer, Editor, or Administrator.
- Roles: Business roles to assign (optional).
-
Click "Create".
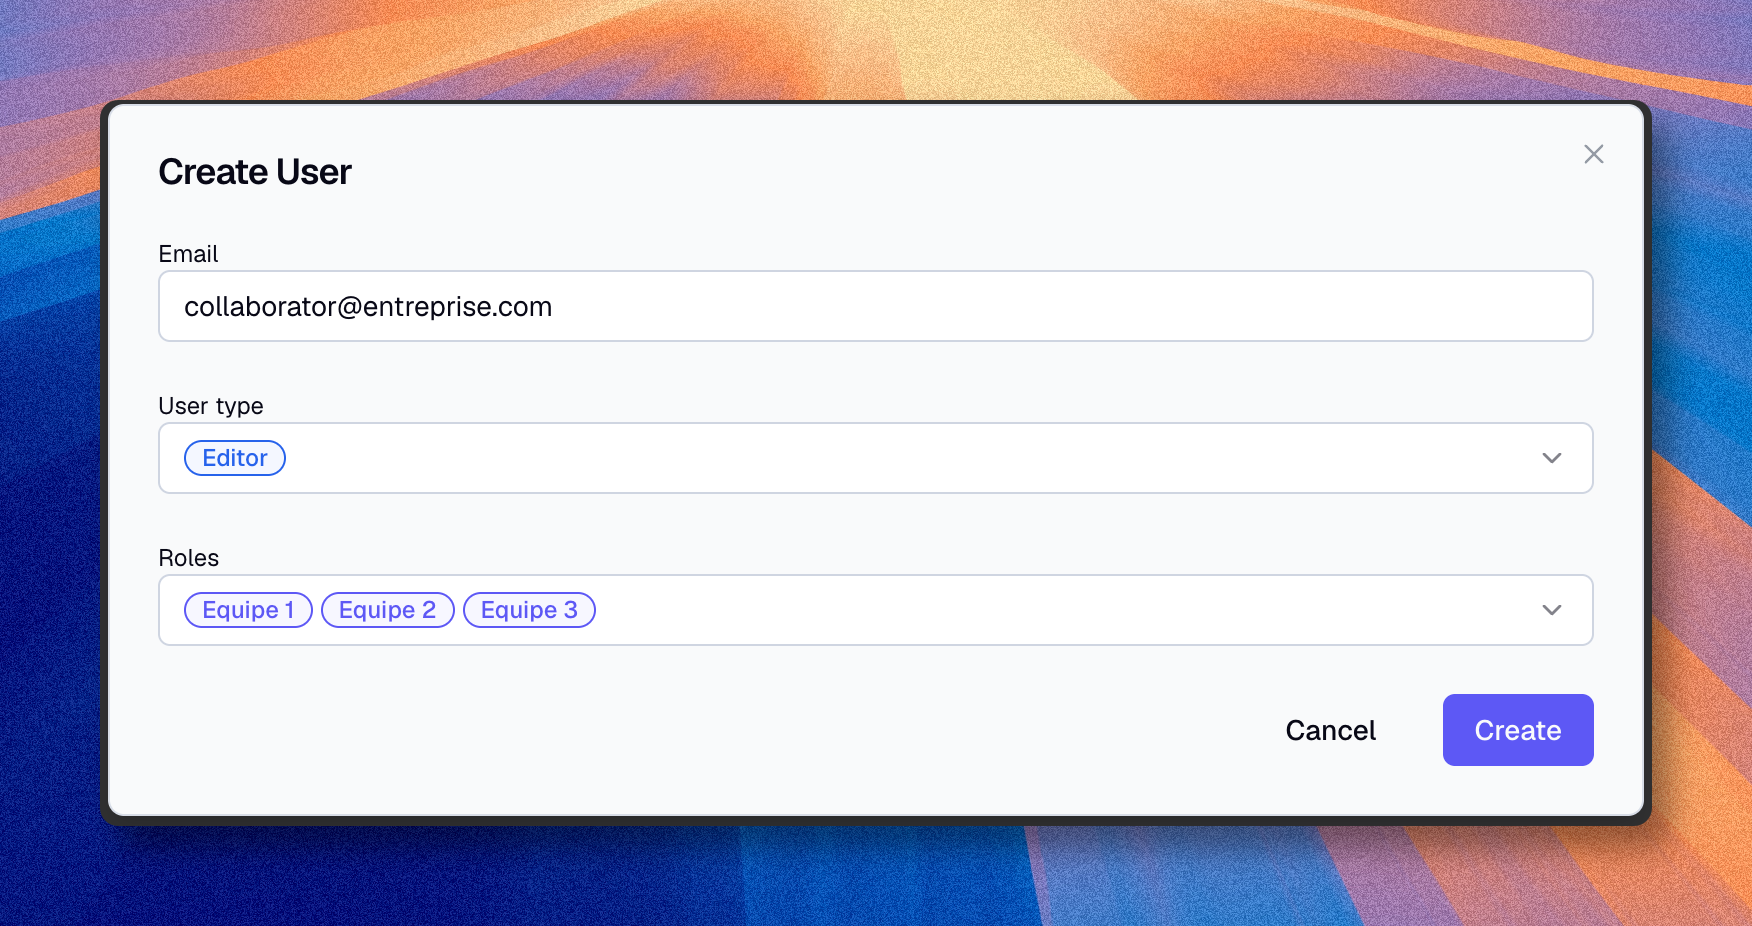
An email user receives an invitation email with a link to create their account or sign in.
In an SSO organization, create SSO users in your identity provider first. Once they sign in, Boldo can create or link their organization access. If the organization requires SSO, members must enter through that provider and cannot be invited by email.
When a provider has no active SSO user yet, the first person to sign in is created as an Administrator; everyone after them is created as a Viewer by default. Adjust their user type afterward if needed.
Manage a user
Change type
- Click on the user in the list
- Change type in the selector
- Click "Validate"
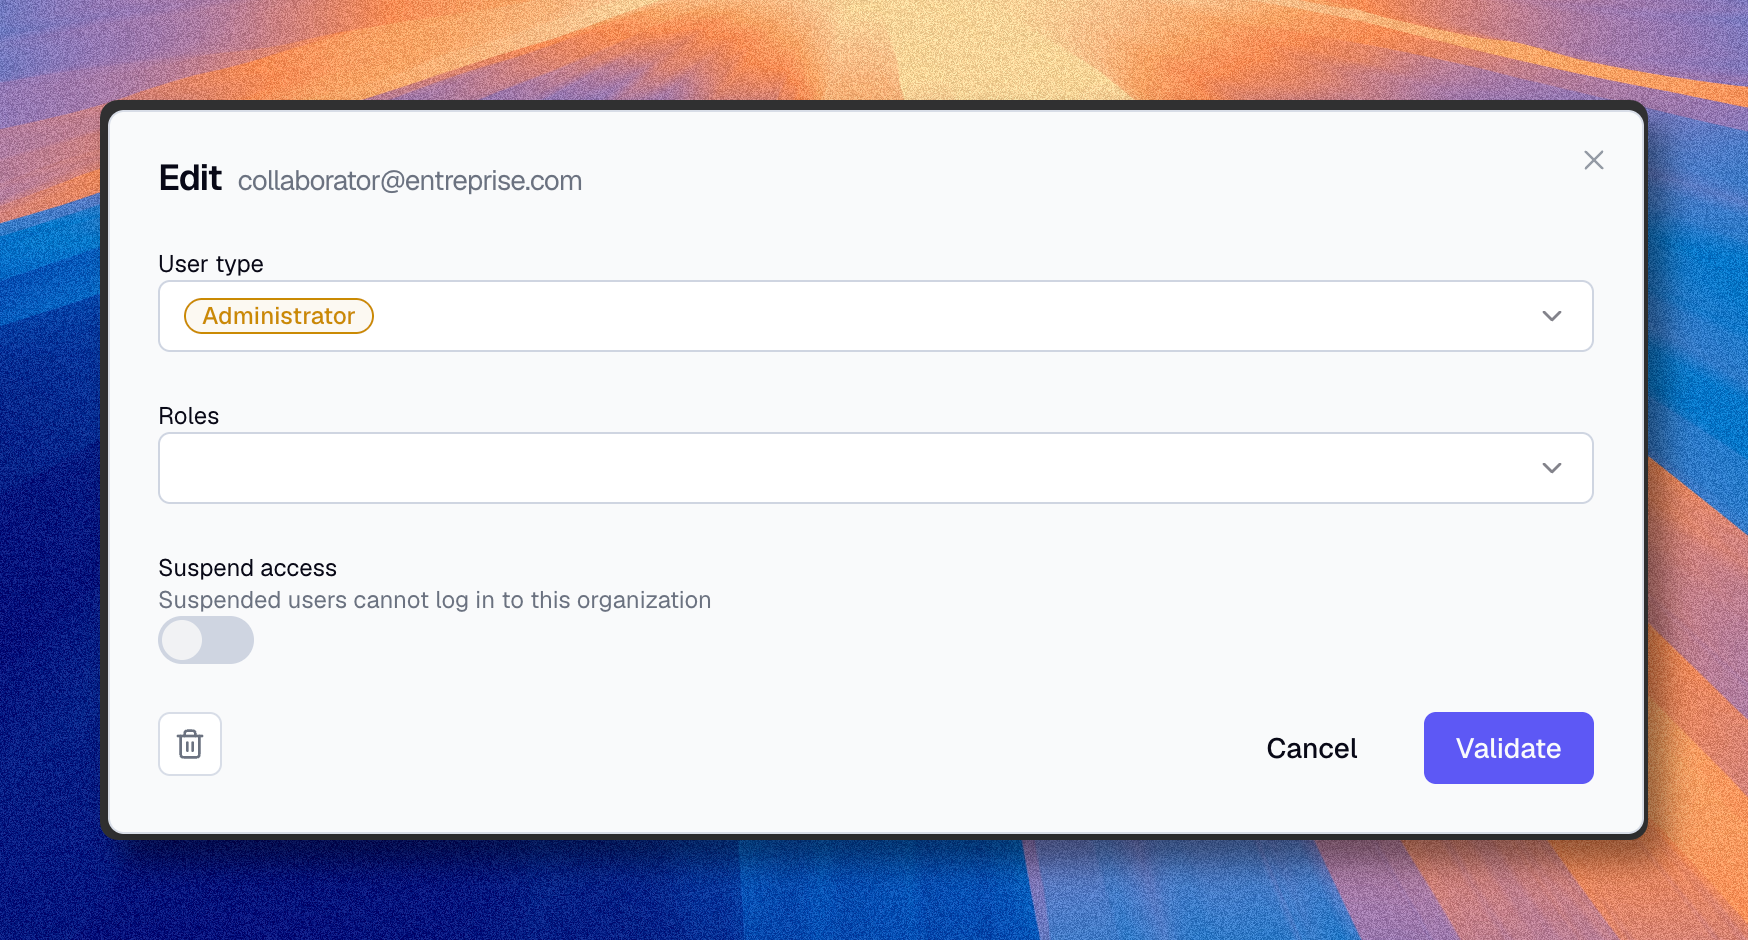
If you change an existing editor or administrator to Viewer, Boldo warns that their private items are deleted.
Change roles
- Click on the user
- Select roles to assign
- Click "Validate"
In practice: the role defines what the person can do; the access domain defines where they can do it.
Read Rights in 2 minutes for the short version, or Understand the access model for the detailed model.
Manage sign-in methods
When a user has several sign-in methods, Boldo shows them in the user form.
Administrators can:
- temporarily disable a method
- re-enable a disabled method
- remove a method when at least one other method remains
Boldo prevents you from disabling the method used by your current session. Owner methods are locked.
The user form manages methods that already exist for the member. It cannot add SSO access by itself; add or authorize the person in the identity provider and let them sign in. It also does not silently restore a disabled email method after a new invitation.
If a member has no active sign-in method, for example because all remaining methods are disabled, that member loses organization access. API keys owned by that member also stop working because they require an active member method.
In SSO-required organizations, email-password methods cannot be re-enabled while SSO remains required. First manage SSO membership in the identity provider, then use Boldo to review or adjust how that access appears in the organization.
Manage AI access
If your plan includes AI, the user form includes an AI access switch.
Turn it on for users who can use the assistant. Turn it off when a user should keep normal Boldo access but should not use AI.
Read AI settings to configure the organization-level AI behavior.
Manage share link access
If your plan includes share links, the user form includes an Allow creating share links switch.
Turn it on only for members who need to distribute assets or saved visualizations without sign-in. The permission is independent from the user type, so it can also be granted to a Viewer.
Turning it off prevents new links and link edits. Existing links keep working until they expire, are deleted, or are stopped by an organization-level control.
Read Share link administration for organization activation, roles, IP allowlist behavior, and link ownership.
Edit several users at once
Select multiple users in the list, then click Update in the selection bar that appears above the table.
Choose one field to change for the whole selection:
- User type
- Roles, if your plan includes fine-grained roles
- AI access, if your plan includes AI
- Share links, if your plan includes share links
Only one field can be updated per batch action.
For user type, the owner account and your own account are kept out of the change automatically; every other selected user switches to the chosen type. Plan seat limits still apply: if the target type's limit is reached, Boldo updates as many users as the plan allows and reports how many were updated versus skipped. Changing a contributor to Viewer still deletes their private items, as with a single edit.
For roles, the roles you select replace the roles previously assigned to each selected user; it does not add to their existing roles.
For AI access and share links, the switch you choose is applied to every selected user.
Transfer attributions
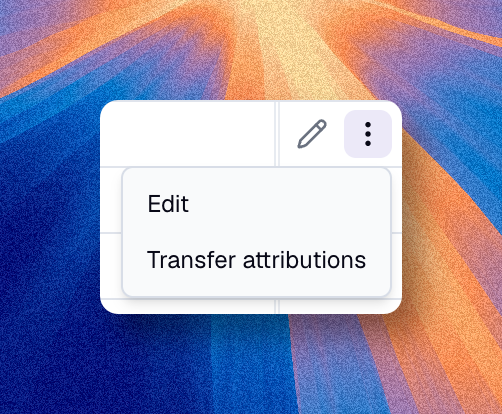
Administrators can transfer everything a member is credited for to another member. This is useful before removing someone, or when a person continues with a different account, for example after switching to an SSO account under a different email address.
- Open the row menu on the user in the list
- Click Transfer attributions
- Select the target user
- Confirm
The transfer reassigns:
- creation attribution (assets, views, diagrams, charts, nested maps, dashboards, icons)
- last-modification attribution
- private items (views, diagrams, charts, nested maps, dashboards)
- comment authorship
- favorites
Activity history is not transferred.
This action is irreversible.
Remove a user
- Click on the user
- Click the delete icon
- Confirm
The user immediately loses access. This action is irreversible.
Removing a member also removes their private items, API keys, and share links for this organization. Access in other organizations is not affected.
You cannot remove the organization owner account.
For an SSO organization, first remove the user from your Identity Provider.
What to decide first
Before assigning anything, answer these questions:
- does this person only need to read, or also to contribute?
- does this person need a paid Users seat, or only Viewer access?
- is broad organization administration really required?
- does the person need fine-grained access through roles and access domains?
If you choose the right user type first, and only then add the necessary roles, the rest of the setup becomes much easier.